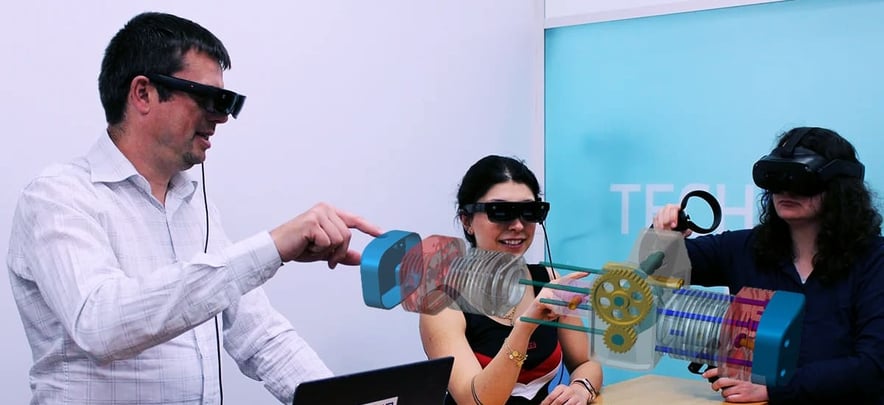
You want your teams to use augmented reality or virtual reality in their daily work? Immersing yourself in a VR environment to work collaboratively on the same 3D CAD model offers many advantages to professionals. But unless you create the proper VR space, the immersive magic of using AR glasses, a VR headset or a VR CAVE will be lost.
No one wants to trip on a misplaced cable while walking around your future building, or hit a LED display while turning a 3D model upside down.
Preparation is key. While the best virtual reality headsets can be up and running as soon as they are out of the box, most professional-grade interactive virtual reality experiences involving CAD software and simulations need space preparation. As well as a XR-ready machine with the appropriate 3D applications.
Whether you’re willing to dive into your 3D data in an immersive room or put on XR headsets, this article will guide you through the different options at your disposal.
At-your-desk VR vs. Room-scale VR vs. Immersive Room
Before anything, what are the different AR/VR work environments at your disposal? Each offers unique benefits and considerations, whether you opt for at-your-desk VR, room-scale VR or a VR CAVE (Cave Automatic Virtual Environment).
Additionally, the choice between wireless headsets like the Oculus Quest 2 and tethered headsets like the Varjo XR-3 will impact your choices for an ideal XR workspace.
At-your-desk virtual and augmented reality
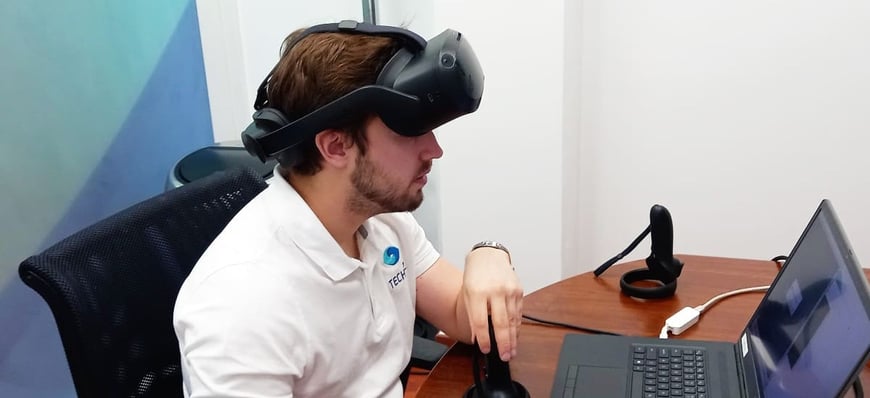
In this scenario, you remain seated at your desk, wearing either a wireless or tethered head-mounted display (HMD). Your XR experience primarily requires you to look straight ahead or engage in a 360-degree spin with your chair. While some of these XR experiences can be active, you will generally not require much physical space.
However, it is important to ensure clutter-free desks to prevent accidental knocks or spills. It is probably not the best time to have a cup of coffee lying around.
Immersive work in Room-Scale VR
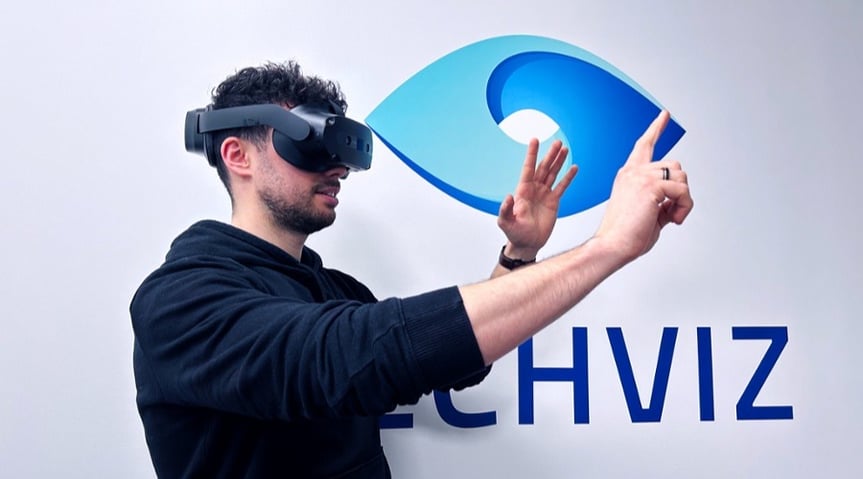
Room-scale VR takes your experience beyond the confines of a desk. With a minimum free space of 3 by 3 meters, you can move around, turn, crouch, and even wave your arms to interact with the virtual environment.
Keep in mind that using bulky headsets for extended periods can cause discomfort, so regular breaks may be necessary to avoid motion sickness and eye strain.
VR in an immersive room
.jpeg?width=863&height=360&name=Immersive-Room-at-Barcos-Connect-Mumbai-show-2022%20-%201200x900-1%20(1).jpeg)
Immersive rooms offer a premium AR/VR experience, with every surface—walls, floor, and ceiling—serving as projection screens. In this setup, you wear lightweight stereoscopic glasses and can easily interact with other engineers sharing the space. While immersive rooms may be more expensive than individual headsets, they are ideal when teams need to work together physically in the same space or to present a new product or facility to your Management or client.
VR in a multi-device XR space
Why limit your collaboration to the same physical space when multi-device XR spaces offer greater flexibility? These spaces accommodate various virtual reality devices simultaneously, including VR headsets, AR glasses, immersive rooms, PCs, and smartphones.
With an unlimited number of users, you can create collaborative VR sessions that cater to diverse needs.
3 ways to optimize your environment for augmented and virtual reality collaborative sessions
1. Make sure your VR space is safe and clean
Whether working alone with an HMD, or remotely collaborating with other engineers, maintaining a safe and clean VR space is essential. With your computer nearby, ensure easy access to your keyboard, mouse, and monitor for launching initial VR environments. Depending on your HMD, you might need to use specific motion controllers – or you are going for hand tracking.
While moving around, make sure you have ample space to stretch your arms without any obstructions. Also, be mindful of low-hanging lighting fixtures.
2. Set up the limits of your VR space before moving around
Remember that all good VR headsets will have some sort of ‘Guardian’ system. They act like digital walls that show you the boundaries of your VR space. They will appear if you get too close to the edge – and the furniture there. Most recent headsets will let you set up these limits by showing a video feed of your room on the internal screens via cameras mounted on the outside of your device.
If your headset relies on base station (external tracking devices), such as the Valve Index or HTC VIVE series, it is important to position these devices at opposite corners of your play area. Place them above head height and angle them slightly downward towards the center of the room. By following this setup, your headset's software will ensure that no blind spots occur within that designated area. Also, as it is time-consuming to find the right position for the bases, try finding a permanent place for them – or buy a tall tripod for the high-up one.
3. Use your head-mounted display in a well-lit room
We recommend that you use your XR headset in a well-lit room to ensure that the tracking cameras or stations linked to your head-mounted device can clearly capture your movements. This will prevent delays or latency between your actions and their translation in the virtual world.
As AR and VR technologies continue to evolve, integrating these immersive experiences into your business can unlock unprecedented opportunities for collaboration, visualization, and productivity. By understanding the different VR options available and optimizing your workspace accordingly, you can empower your teams to harness the full potential of AR/VR technologies. Contact our teams for further guidance and information on implementing AR/VR solutions tailored to your specific professional needs.


 Back to Blog
